
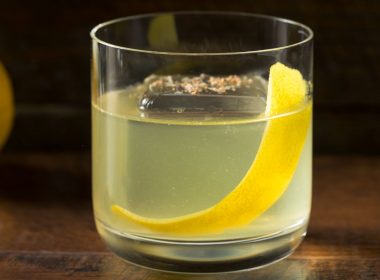
Cocktail Making 101: 9 Tips for Beginners to Perfect Your Craft

Jump to:
- 1. Get a few nice ingredients to play with
- 2. Treat yourself to some essential tools
- 3. Understand the six basic cocktails
- 4. Remember fresh is best
- 5. Level up by making DIY simple syrup
- 6. Experiment with different kinds of ice
- 7. Gather different cocktail glasses as you go
- 8. Practice your technique
- 9. ALWAYS taste your creations before serving
Cocktail making is an art form; there is no doubt about that. However, even if you are a complete beginner, there are a few shortcuts you can take to level up fairly quickly—paint by numbers, if you will.
If you are in the process of learning how to make mixed drinks at home, we’ve got you sorted! These nine insider tips will set the stage for success right from the start.
1. Get a few nice ingredients to play with
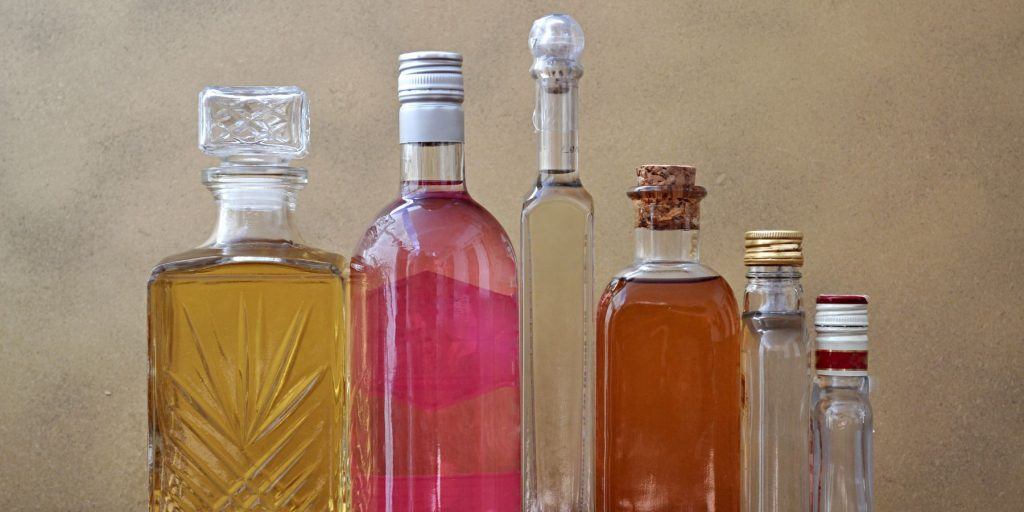
First things first, when you are learning to make mixed beverages, you do not need to splash out and buy all the ingredients at once. You are 100% allowed to build up your drinks repertoire slowly but surely, adding to it as you go.
For cocktail beginners, we’d recommend starting with high-quality vodka (opens in new window) and a great gin (opens in new window) as this will allow you to make a variety of classic drinks. As you experiment more, add some bourbon (opens in new window) or rum (opens in new window).
For mixers, we’d suggest having a few effervescent options like club soda, sparkling water and ginger beer, as well as fruit juices like cranberry and orange. Add a simple syrup, fresh lemons, limes and ice, and you’ll be ready to create a variety of tasty drinks already.
2. Treat yourself to some essential tools
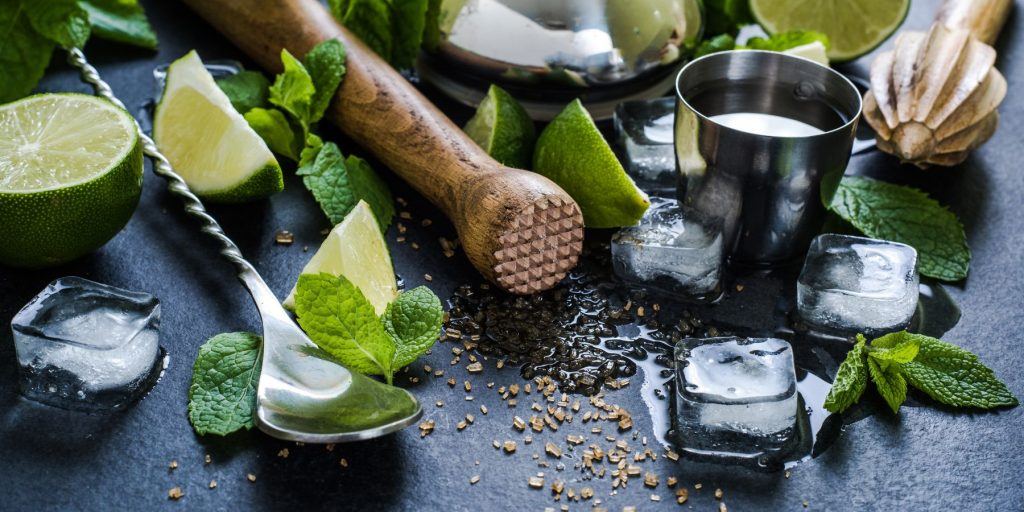
Next up, it’s time to start building your cocktail-making kit. Again, you don’t need to get everything all at once—take your time in collecting it if you have to, and throw out a few well-placed hints for birthday gifts among your nearest and dearest.
Here are the six basic pieces of drink mixing equipment we suggest you start with:
- Cocktail shaker. Regular shakers hold an 18-ounce volume and the larger ones 28 ounces. The cobbler shaker is a nice all-in-one solution that features a metal tin for mixing, a cap that measures an ounce, as well as a built-in strainer.
- Jigger. A jigger is a handy measuring cup with a single shot on one end and a double on the other.
- Bar spoon. This is a long spoon used to stir creations that are served in tall glasses.
- Strainer. A strainer is used with a shaker to keep all the ice and debris out of your tipples when you pour.
- Muddler. A muddler is a great tool for crushing fruit and herbs to release their lovely flavors.
- Tongs. A pair of tongs will make you look like the ultimate pro when adding garnishes and ice to cocktails.
3. Understand the six basic cocktails

The notion of the six basic mixed drinks was first shared in a book called Cocktail Codex: Fundamentals, Formulas, Evolutions (A Cocktail Recipe Book). The authors’ theory, which has since been proven accurate, is that there are six ‘root recipes’ that underpin all the pours you could possibly make.
The Big 6 include:
- Old Fashioned. This seemingly simple drink is beautifully balanced and provides newbies with the opportunity to appreciate the subtle layering of drink ingredients. It has also yielded other classics like the Mint Julep.
- Daiquiri. Whether you prefer your shaken or stirred, a Daiquiri is refreshing to the core and makes an appearance on just about every clinker menu around the globe.
- Martini. The time-honored Martini is also one of the main cocktails. The basic ‘layout’ of this drink paved the way for other true-blue classics like the Negroni and the Manhattan, and it’s exceptionally adaptable for all tastes.
- Whisky Highball. The Whisky Highball combines whisky, seltzer and a lemon wedge to arrive at a drink that has stood the test of time, and set the stage for other drinks like the Gin Rickey, and Cuba Libre.
- Flip. Flips basically consist of any fortified wine or liquor shaken with a whole egg or cream, and sweetened with sugar. Flips basically consist of any fortified wine or liquor shaken with a whole egg or cream, and sweetened with sugar.
- Sidecar. The sidecar is any mixed drink traditionally made with cognac, orange liqueur, and lemon juice. This includes the Margarita in all its many guises, as well as the stylish Cosmopolitan.
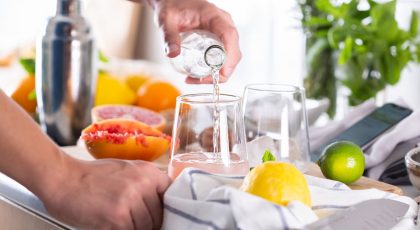
4. Remember fresh is best
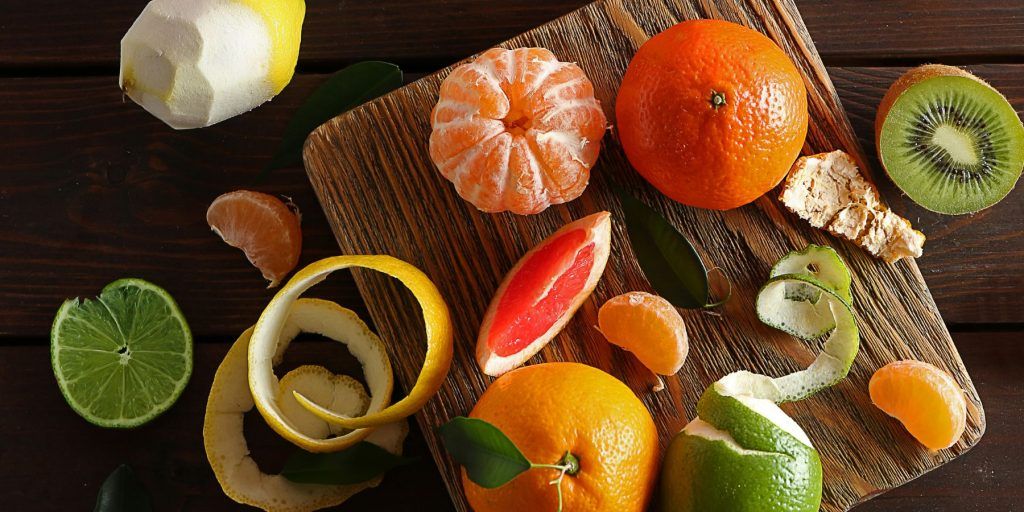
When learning how to mix cocktails, you are likely to come across all sorts of premixes and drink cordials. These are all good and well, and will definitely allow you to put together an okay-ish drink quite quickly. However, if you want to treat your guests to something spectacular, we always recommend using fresh ingredients.
There is just something magical about a lovingly made drink that features the zesty notes of hand-squeezed lime or lemon juice, or the gorgeous green notes of freshly muddled mint or basil. It always leaves a lasting impression. The process takes a little longer, sure, but the extra effort will always be worth your while.
5. Level up by making DIY simple syrup
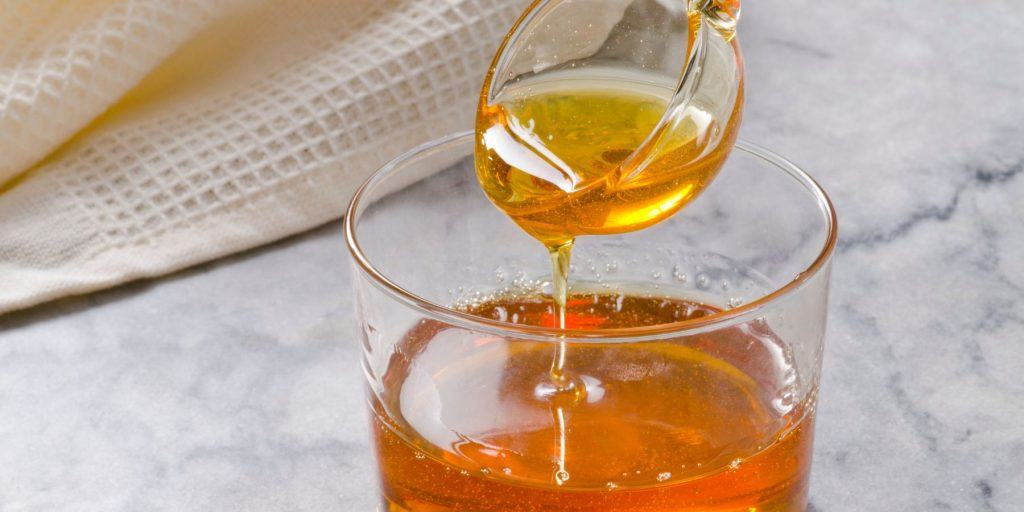
When learning how to make basic drinks, you will come across quite a few recipes that call for simple syrup. It’s something you can easily find in the store, but we do believe that making your own is one of those simple DIY tweaks that really put your sips over the top. At the very least, it’s a very handy culinary skill to have up your sleeve.
All you need to do is measure equal volume water and sugar, heat the water and add the sugar. Just simmer gently for a few minutes until you can see the granules dissolve. Cool and store in the refrigerator. Easy as pie!
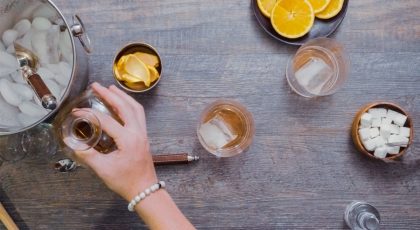
6. Experiment with different kinds of ice
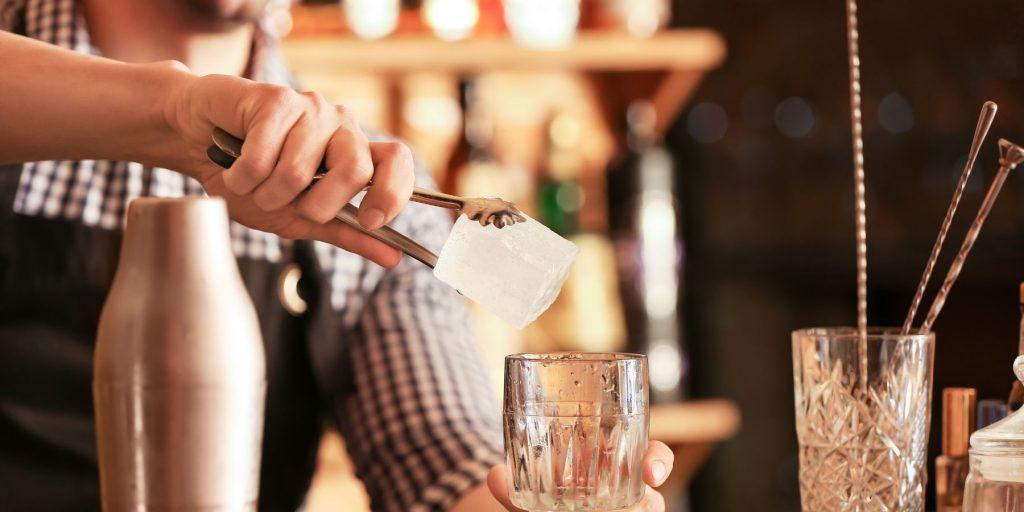
The addition of ice to any alcoholic drink influences the temperature and consistency of the drink, which influences the taste of what you’re sipping on. This is why it is important to choose your ice carefully. Your options include:
- Small ice cubes (1 – 1.25 inches). These should be used for any drink that is served ‘on the rocks’, like a Tom Collins or Paloma.
- Large cubes and spheres. Ideal for whiskey-based drinks that should be chilled, but not watered down.
- Crushed ice. Best paired with drinks like Zombies, Daiquiris, and Mai Tais, and also a must-have for a Mint Julep.
- Standard freezer ice. Great to use in your shaker when mixing drinks like Cosmopolitans and classic Martinis.
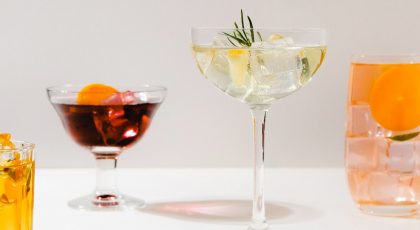
7. Gather different cocktail glasses as you go
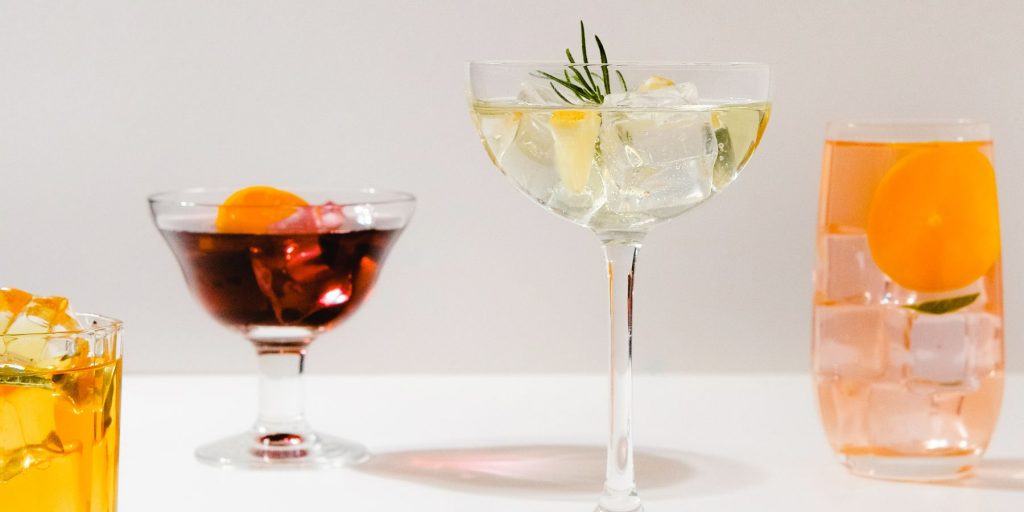
Different types of glasses are shaped to enhance the complexities of different layered and blended drinks in terms of color, flavor, temperature, and aroma. As such, your drinks will really come into their own if you serve them in the ideal type of cocktail glass.
Here are ten different types of cocktail glasses to try at home:
- Martini glass. Commonly found in 3-10 oz and 6-12 oz sizes, these glasses keep heat transfer to a minimum, while the steep slope of the sides prevent ingredients from separating.
- Coupe glass. Also known as Champagne saucers, coupe glasses boost aeration and allow for snappy aroma development.
- Margarita glass. This type of glass features a welled bowl with multiple tiers that narrows towards the stem for an effortless grip.
- Highball glass. Holding between 8 -12 oz, the class highball glass is taller than a rocks glass and a little shorter than a Collins.
- Collins glass. Cylindrical in shape and holding 10-14 oz, the Collins glass is very similar to a highball glass, just slightly taller and narrower.
- Rocks glass. Available in 6-8 oz and 10-14 oz sizes, the classic rocks glass is short and sturdy. It is mostly used to serve spirits on the rocks, as well as stronger drinks that are best savored in smaller quantities.
- Champagne glass. Also called a flute, Champagne glasses are tall and slender with a narrow bowl at the top of a long stem. This design helps to maintain the carbonation of bubbly drinks, and also enhances the visual aspect of the bubbles as they travel up to the top of the glass.
- Copper mug. Used to serve drinks like the Moscow Mule, a copper mug turns cold very quickly, and remains frosty for a long time. It also typically has a handle to minimize heat transfer from a user’s hands.
- Julep cup. Named for the Mint Julep, the silver or pewter cups used to serve this iconic drink also does a great job of keeping a drink icy-cold in hot conditions.
- Nick & Nora glass. Something of a hybrid between a martini glass and coupe, a Nick & Nora glass has a smaller circumference and higher, rounded sides makes it a little steadier than a martini glass and coupe – great for stand-around occasions.
8. Practice your technique
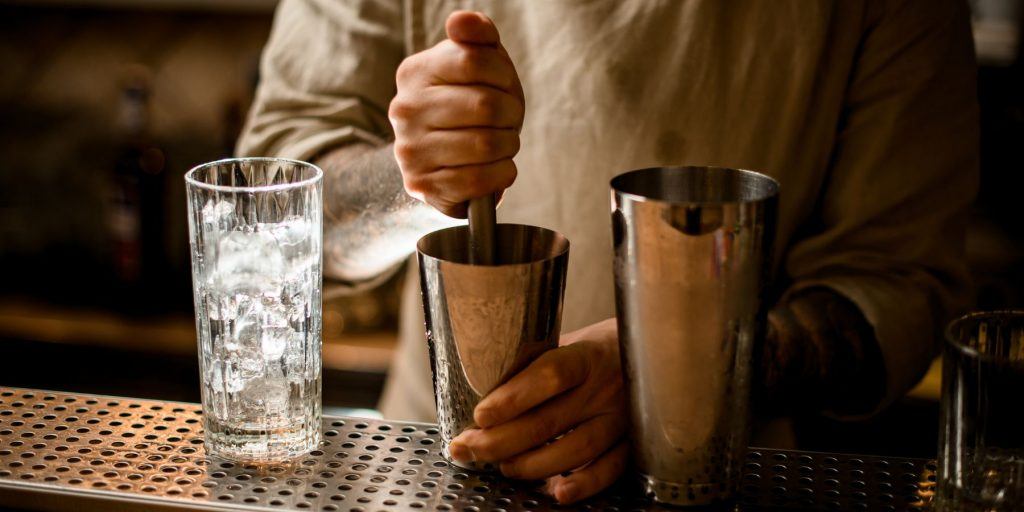
When you learn how to mix drinks, the three main ways of making a drink you need to master are building, stirring and shaking.
Building a cocktail
When you build a mixed rink, you combine the ingredients in container. This could be straight in the serving glass (e.g., when you are pouring a Tom Collins), a mixing glass when a drink has to be stirred (e.g., a Manhattan), or a shaker in the case of a shaken drink (e.g., a Daiquiri or Paloma).
The trick lies in taking your time to measure each ingredient precisely. Once you’ve made a particular drink a few times you will get a feel for the pour, and in time will be able to step away from the jigger if you care to, but while you get the hang of it, your measuring tools are your friend.
Stirring a drink
Stirring may sound simple enough – you are combining ingredients in a mixing glass using a long-stemmed bar spoon. However, it calls for a very gentle touch. When you stir a cocktail, the aim is to cool the drink down, and to dilute the alcohol to make it more palatable. You also want the drink to be lovely and clear, without any bubbles or shards of ice. So go slowly.
Shaking a mixed drink
When it comes to shaking a mixed drink, there are two main techniques:
- Wet shaking, which is done with ice. Build the ingredients into the shaker, and fill it two-thirds of the way with ice. Place the lid on firmly, grasp the shaker with two hands and shake it vigorously for 15 – 20 seconds or until there is condensation on the outside of the shaker. Then strain the liquid into your serving glass.
- Dry shaking, which is done without ice. This approach is normally used when combining ingredients for a drink that features cream and/or egg whites. In cases like these, you want everything to aerate and emulsify well to provide a nice, light mouthfeel. Add the ingredients to your shaker, place the lid on firmly and shake for 30 – 60 seconds. Dry shaking is then typically followed by wet shaking to cool and dilute the drink before serving.
TIP: Effervescent ingredients should never be shaken.
9. ALWAYS taste your creations before serving
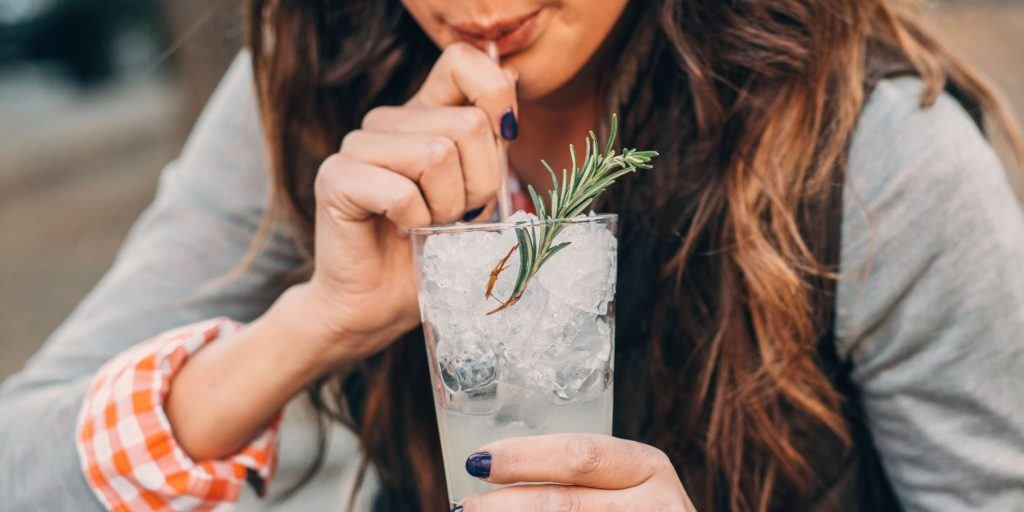
Finally, as you practice and figure out how to mix drinks, always remember to taste your creations before serving it. After all, in the same way that chefs need to taste their food while they cook, a DIY cocktail maker should also keep tabs on the flavor profile of their drinks, especially if you are making big-batch drinks.
While some folks like to use a straw to ‘pick up’ a small amount of a drink to taste it hygienically, this method could actually cause you to miss out on certain aspects of the drink’s taste.
See, the conventional journey of a cocktail goes from the lips to the middle palate, to the back palate, and finally to the throat. When you use a straw to taste, the liquid is likely to go straight to the back palate and the throat. As such, it’s best to simply use a clean spoon to taste a little bit before you serve, so you can make any adjustments that might be necessary.
Now you know! Following these cocktail preparation guidelines when you shake, stir, and sip at home will set the stage for all sorts of amazing drink creations. Now go forth and shake some magic…